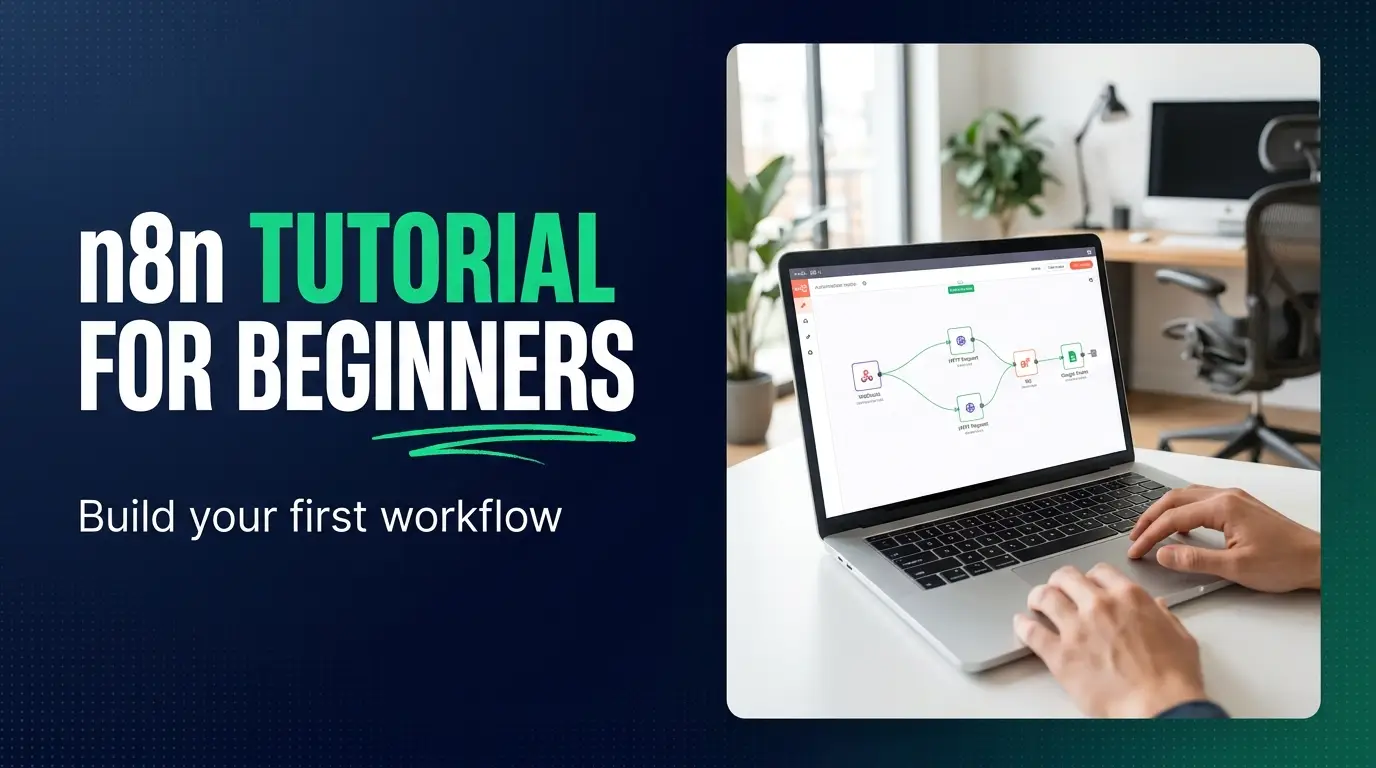
n8n Tutorial for Beginners: Build Your First Workflow
On this page
That blank canvas is the whole problem, isn't it. You heard n8n can automate almost anything, you signed up, and now there's an empty grid with one "add first step" button sitting in the middle of it, and you have no idea what belongs there.
I've watched a lot of smart people quit at exactly that screen. The tool isn't hard. Nobody showed them the shape of a workflow first, so the canvas stayed scary instead of becoming obvious.
So let me hand you the shape, and then we'll build one. By the end you'll have a real workflow that fetches data, moves it around, and prints the result back at you. That's the moment it clicks.
Before you start: cloud or self-hosted?
Do not let setup eat your afternoon. This is where beginners lose the plot before they've built a single thing.
Fastest path: n8n Cloud. Free trial, sign up, you're in the editor in about two minutes, nothing to install. For learning, that's what I'd pick. Spend your energy on workflows, not on a server.
Almost as fast: run it locally with npx. If you already have Node installed, npx n8n spins up the editor on your laptop at localhost:5678.
Later, when you're serious: self-host with Docker. Running n8n in a container on a small box (Railway, or a $6 droplet) is how you'd keep a client's workflows alive 24/7. Worth learning eventually. It is absolutely not a day-one decision, and I've seen people spend a whole weekend on reverse proxies and webhook URLs without ever building a workflow, which is a genuinely sad way to spend a weekend. Come back to it when you have something worth hosting.
Take whatever gets you into the editor today. What I describe below might look slightly different on your screen, since n8n ships updates constantly, but the concepts don't move around.
The three things every workflow has
Every n8n workflow, from a two-node toy to the 40-node monster a client pays you four figures for, is made of the same three ingredients.
A trigger. The thing that starts it. Nothing happens until something kicks it off: a schedule that fires every morning, a webhook listening for incoming data, a new row landing in a spreadsheet. Exactly one trigger per workflow, always the leftmost node on the canvas.
Action nodes. Everything that happens after. Call an API. Send an email. Filter a list. Ask an AI model to write something. Chain as many as you need, left to right.
The connections between them. Those wires you drag from node to node aren't decoration. They carry data. A node finishes, its output goes down the wire, the next node reads that output and acts on it. Beginners look right past this part and it is the whole game.
If you remember nothing else: a workflow is a trigger, some actions, and data flowing down the wires between them.
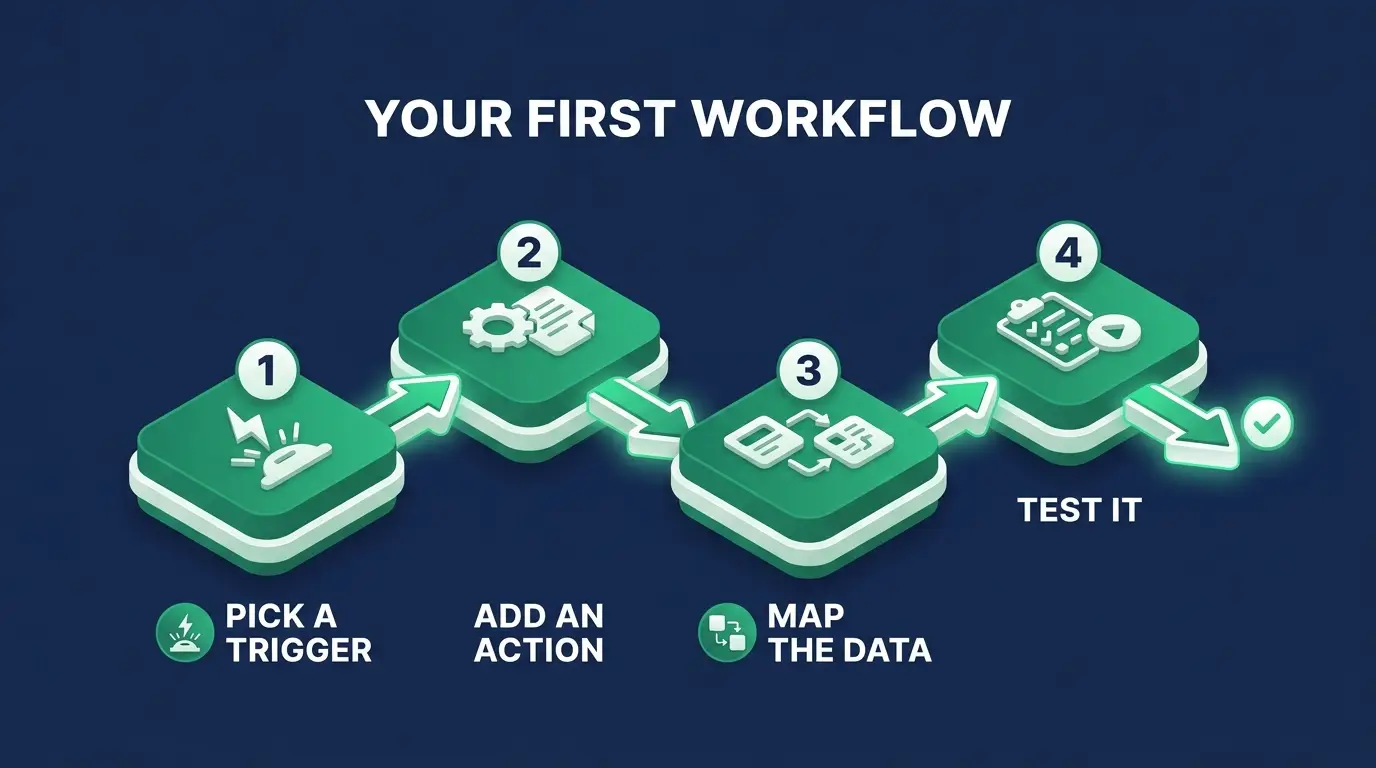
Your first workflow, step by step
We'll build one that runs on a schedule, fetches data from a public API, and shows us what came back. Small, but it exercises all three ingredients.
-
Add a trigger. On the empty canvas, click to add your first step and pick a Schedule trigger (it sometimes shows as "On a schedule"). Set it to every hour. We won't actually wait an hour, we'll fire it by hand in a minute, but this is how you tell n8n when to wake up.
-
Add an action node. Click the little plus on the right edge of your trigger, search for HTTP Request, add it. This node calls any URL on the internet and hands you back whatever it returns. It is the Swiss Army knife of n8n and you will use it more than every other node combined.
-
Point the HTTP node at an API. Method GET, URL
https://api.github.com/users/n8n. No auth, it's a public read. -
Map data from the trigger into the action. Our action ignores the trigger's data right now, which is fine for a first build, but here's why the wire is sitting there: any field in a later node can pull values out of an earlier node. We'll actually do it in the next section with expressions. For now just notice that the wire from Schedule into HTTP is the thing that makes it possible at all.
-
Test the node. Don't run the whole flow. Click into the HTTP Request node and hit "Execute node" (older builds say "Test step"). n8n runs that one node in isolation. The little dot on the node goes green, which is a stupidly satisfying feeling the first time.
-
Read the JSON output. The output panel fills with something like
"login": "n8n","name": "n8n","public_repos": 12,"followers": 4200, plus about thirty other keys you didn't ask for. That JSON is the data now sitting in the wire, and every node you add after this one can reach into it.
That's a working workflow. Trigger, action, data. Sit with it a second, because everything else you'll ever build in n8n is a variation on what you just did.
Understanding data and expressions
This is the concept that separates people who tried n8n once from people who get paid to build in it.
Everything moves as items. A node outputs a list of items, and each item is a chunk of JSON. One GitHub user pulled means one item. Fifty customers pulled means fifty items, and the nodes downstream run once per item, automatically, without you asking. That's why you almost never write loops in n8n. The item model loops for you.
Expressions are how you reach into that data. Switch a field to expression mode and wrap the path in double curly braces. {{ $json.name }} grabs the name field off the current item. {{ $json.followers }} grabs the follower count. A little preview appears under the field showing the resolved value, and that preview is how you know you got the path right instead of finding out four nodes later.
This is why JSON matters. Building in n8n is mostly reading JSON in the output panel, then writing an expression to yank the one field you want into the next node. My first real mistake here was typing {{ $json.user.name }} because I assumed the response was nested, when the field was sitting flat at the top level the whole time. The preview said undefined and I stared at it for ten minutes. Read the actual JSON. Trace the value from where it appears to where you want it. Do that a handful of times and expressions stop being scary, they're just addresses.

Add an AI step
This is where n8n gets genuinely fun in 2026. You drop an AI model into the middle of a workflow like any other node.
Say your trigger brings in a batch of support emails. Add an AI/LLM node in the chain, feed it the email body with {{ $json.body }}, and prompt it: "Classify this message as billing, technical, or sales, and reply with one word." The model reads each item, returns a category, and that category flows down the wire to a filter that routes billing one way and technical another. Or point it at a customer question and have it write a first-draft reply.
One rule I will die on: keep a human in the loop before anything sends. Have the AI draft, then route it to you for approval instead of straight into the customer's inbox. An AI that classifies is low risk. An AI that hits send on your behalf is how you email a customer something embarrassing at 3am and then explain it on a call the next morning. Build the pause in on purpose, while the flow is still small enough to change.
Common beginner mistakes
I've made every one of these, and I watch students make them on repeat.
Not testing each node as you go. Someone builds eight nodes, runs the whole thing, it breaks, and now they're bisecting a haystack. Execute each node right after you add it, confirm the data looks right, then move on.
Forgetting error handling. Real workflows hit dead APIs, rate limits, empty responses. A flow with no error handling dies quietly and you learn about it days later when the client asks why nothing ran since Tuesday. Learn the error workflow settings early so failures come find you.
Running an untested flow on real data. Never aim a brand-new workflow at your production database, your actual customer list, or a live send-email step. Fake data first. Then test it again. Then let it touch the real thing.
Where to go next
You've got the shape and you've built one. Fluency now comes from repetition, small workflows until the moves are muscle memory.
For things to practice on, I put together a list of n8n workflow examples you can rebuild step by step. Still deciding whether n8n is even the right tool for you? What is n8n covers the big picture, and n8n vs Zapier breaks down when to reach for each one.
And if a light went on while you read this, if you're sitting there thinking this could be more than a hobby, pay attention to that. A tutorial gets you your first workflow. A career gets you paid to build them. Our AI automation career path takes you from the workflow you just made to job-ready and freelance-ready, with real projects and people building alongside you. I also wrote a whole guide on how to become an AI automation specialist if you want to see the road first.

FAQ
Is n8n free? The self-hosted version is open and free to run yourself, so if you host it with Docker you pay only for the server. n8n Cloud is a paid hosted plan with a free trial, which is the easiest way to start learning without touching a server. Every plan is broken down in n8n pricing.
Do I need to know how to code to use n8n? No. You can build most workflows entirely by dragging nodes and writing simple expressions. Knowing a little JavaScript unlocks more advanced steps, but you can go a long way without writing any code at all.
What's the difference between a trigger and an action node? A trigger starts the workflow (a schedule, a webhook, a new form entry), and there's one per workflow. Action nodes are every step after that: fetching, filtering, sending, or transforming data. The trigger decides when, the actions decide what.
Why does my expression show nothing or an error?
Almost always the path is wrong. Open the previous node's output, look at the actual JSON, and match your {{ $json.something }} path to a field that really exists there. The live preview under the field tells you the moment it resolves correctly.
Should I self-host n8n or use the cloud version? Start on the cloud so you can learn without setup friction. Move to self-hosting with Docker once you have workflows that need to run reliably around the clock, especially for clients where you want full control and lower long-term cost.
You went from a scary blank canvas to a workflow that runs. That's the hard part, and it's behind you now. Build a few more small ones this week and it starts feeling like second nature faster than you'd think.
If you want a guided path from here, CodingPhase has an AI automation track that walks you from your first workflow to getting paid for them, plus an 80,000-plus member community to build alongside. Diamond is $42/month or $255/year with a 7-day money-back guarantee, and the Tech Accelerator is a $1,500 one-time lifetime option if you want everything for good. Either way, keep building. You've clearly got the hard part handled.